Explore Maple Syrup
-
 Age: 3 to 8+
-
 Time: Under 1 hour
-
 Materials: maple syrup, snow, a baking dish a stove, popsicle sticks
- Skills: Creativity, Sensory, Science
In celebration of Maple Syrup Day, we share a few ways to learn more about and explore maple syrup—one of nature's sweetest treats!
This activity is featured in our free December activities calendar. Need your copy? Visit tinkergaten.com/calendar today.
This activity is featured in our free December activities calendar. Need your copy? Visit tinkergaten.com/calendar today.
The Guide
Step 1: Get maple syrup.
Real maple syrup is one of nature’s most wonderful treats. You don’t need a huge quantity to use different senses to explore and enjoy this marvelous stuff!
Step 2: Explore the syrup.
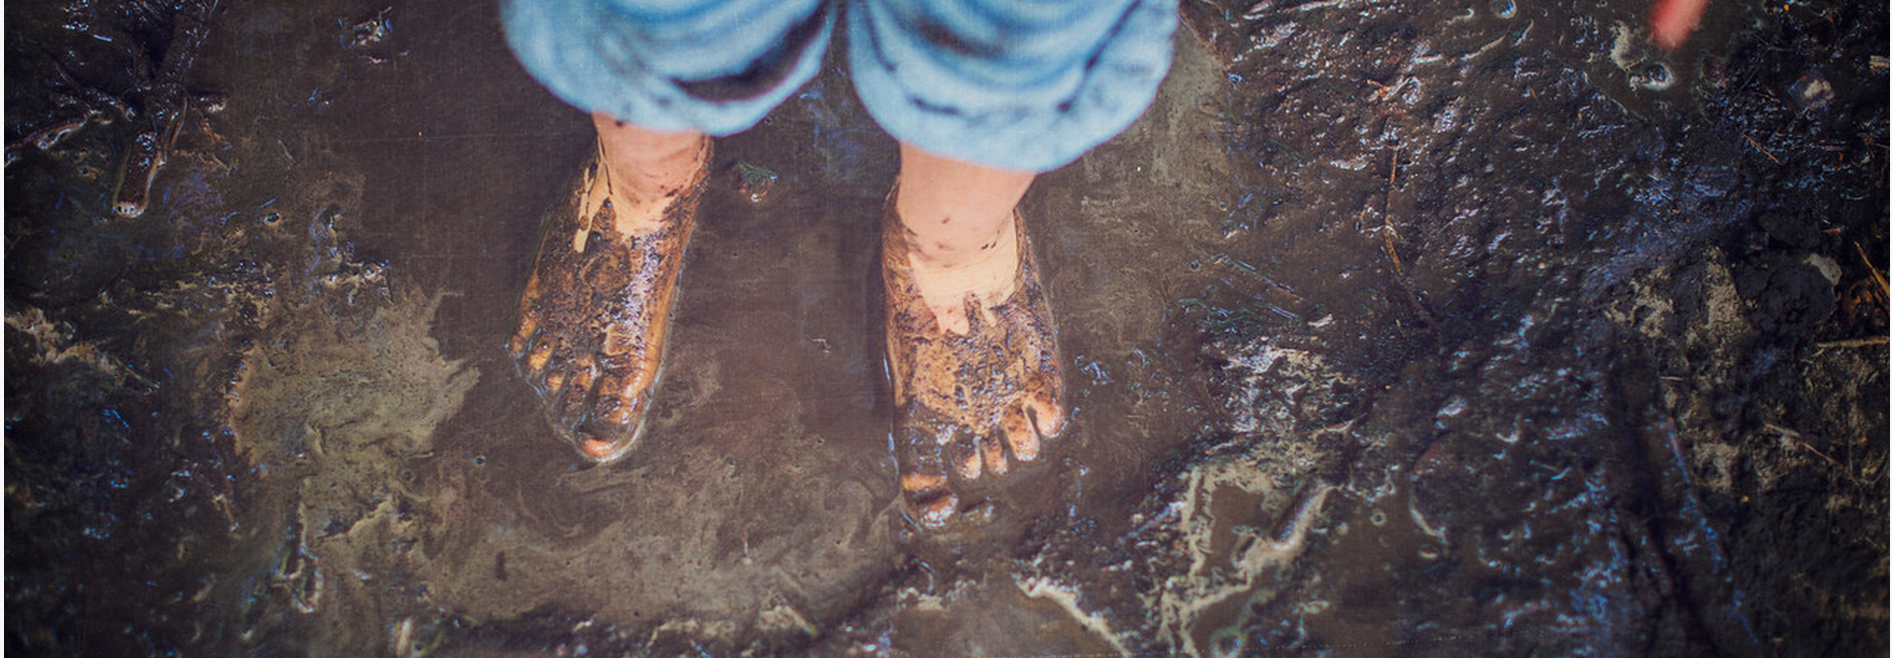
Pour a bit of syrup into a bowl or cup and place it over a cookie sheet or washable area (this allows kids to explore the sticky stuff and keeps the mess manageable for you!). Lay out spoons, measuring spoons and various scoops or cups and welcome kids to experiment and observe how the syrup looks, sounds, moves, feels and tastes as they scoop and dump it.
Such a viscous or thick liquid moves really differently than water. If you like, put out a bowl of water, too, and welcome kids to notice what is similar and what is different. Kids who are sensitive to tactile sensations may also appreciate a damp towel to wipe off their sticky fingers.
Such a viscous or thick liquid moves really differently than water. If you like, put out a bowl of water, too, and welcome kids to notice what is similar and what is different. Kids who are sensitive to tactile sensations may also appreciate a damp towel to wipe off their sticky fingers.
Step 3: Make maple syrup snow cones
These are super simple and sweet treats. Simply back a cup with snow and pour over some maple syrup. When we get a fresh snow, we love to bring a little flask of syrup and a few cups when we go sledding to enjoy a maple snow cone treat on the slopes. Don’t have snow where you live? Read on for two ways to make snow at home!
Step 4: Make maple syrup snow candy.
To make Maple Syrup snow candy, you need:
- maple syrup
- snow
- a baking dish
- a stove
- (optional) popsicle sticks
Snow: If you have fresh snow outside, you’ll be able to pack a big bowl or baking dish full of snow right before you pour on your syrup. If not, you can crush ice in a blender. Or, you can make snow in the freezer by filling a baking pan with one to two inches of water and placing it in the freezer, stopping each half hour to crush the ice with a fork until it’s solid and slushy.
Syrup: Boil a cup of maple syrup until it bubbles. Then, get your snow ready and packed into your baking dish. Pour the boiled syrup over you packed snow and watch carefully. As soon as it appears to firm up quickly, roll the firming strands of syrup around popsicle sticks. We love to sprinkle them with a little sea salt, too to get that salty-sweet goodness going!
Let them cool and enjoy!
Step 5: Learn more about how maple syrup is made.
If you live in an area in which sugar maples thrive and the conditions allow for tapping trees and making syrup, make a plan to visit a Sugar Shack during syrup making season (February or March). No matter where you live, enjoy the following resources designed to help kids and grown ups learn about the process and its historical roots:
- How Maple Syrup is Made by PBS Learning Resources
- Ever Wonder How Maple Syrup Is Made? by Highlights Magazine
- Maple Sugaring Among the Abenaki and Wabanaki by Abenaki.org